These cheese scones are one of those bakes I return to again and again.
They’re comforting, reliable, and deeply satisfying, especially when served warm with butter. Let’s get into everything you need to know.

Hi, my name is Dipendra Kumar, and I am a professional chef. I like cooking food for my family. I need attention while I make a comfortable recipe.
What Are Mary Berry Cheese Scones?
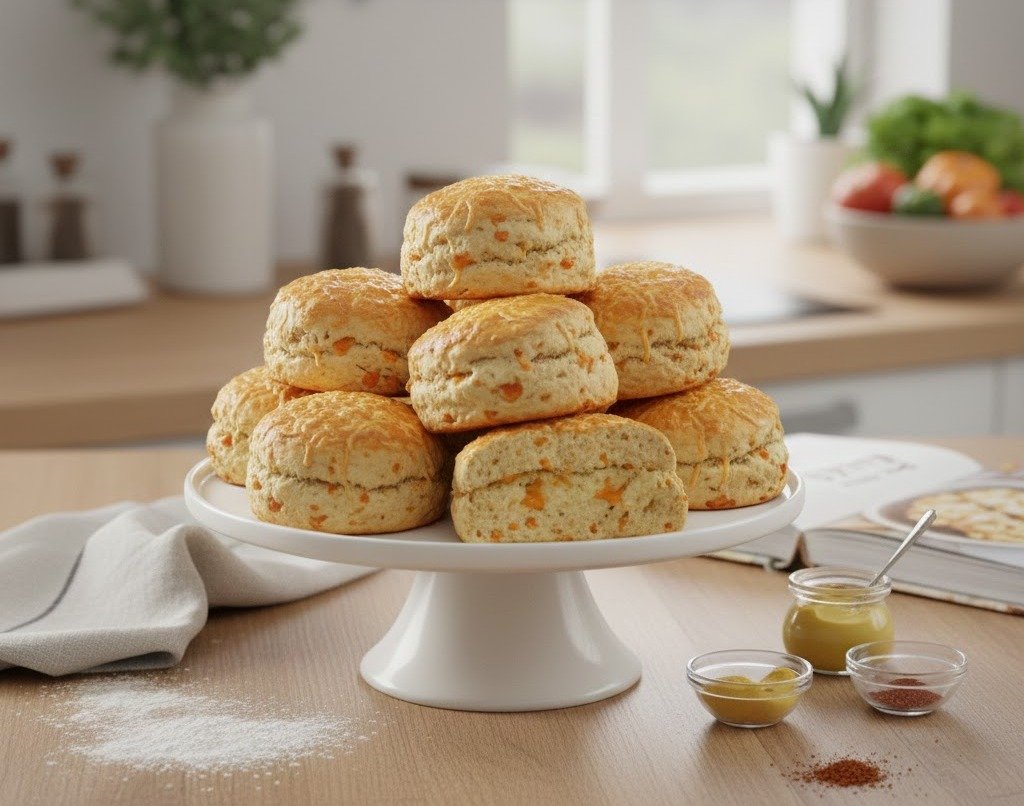
Mary Berry’s cheese scones are classic British savoury scones made using self-raising flour, butter, milk, egg, and strong cheddar cheese.
Unlike sweet scones, these focus on a rich, cheesy flavour with a light and fluffy interior. They’re baked hot and fast, which gives them a beautiful rise and a golden top.
I love how they work just as well for afternoon tea as they do alongside soup or for a quick lunch. They’re simple, honest baking at its best.
Why You’ll Love
These scones are wonderfully dependable. They don’t need fancy techniques or unusual ingredients, yet the result always feels special.
I love how quickly they come together, and how forgiving the dough is if you handle it gently.
They’re savoury without being heavy, cheesy without being greasy, and soft inside with just enough structure to split and butter.
Ingredients
The ingredient list is short, but quality matters here. Good butter and a strong, mature cheese really make the difference.
The ingredients matter; if everything is right, then it tastes good. It will only taste right if you use the correct quantities.
| Amount | Ingredient | Notes |
|---|---|---|
| 225 g | Self-raising flour | Sifted |
| 1 tsp | Baking powder | Optional but helps lift |
| 50 g | Butter | Cold, diced |
| ¼ tsp | Salt | Adjust to taste |
| Pinch | Mustard powder or cayenne | Optional |
| 100 g | Mature cheddar cheese | Grated |
| 1 large | Egg | Free-range if possible |
| 100 ml | Milk | Plus extra for brushing |
Best Cheese to Use
I always reach for a mature or vintage cheddar because it gives the strongest flavour. Mild cheese tends to disappear into the dough.
Red Leicester, Double Gloucester, or even a little Parmesan can work, but cheddar is the classic choice.
Can I Substitute Self-Raising Flour
Yes, you can. If self-raising flour isn’t available, use plain flour and add baking powder. The important thing is even distribution, so I always sift it well before using.
Equipment Needed
Having everything ready before you start makes the process smooth and relaxed.
| Amount | Equipment | Notes |
|---|---|---|
| 1 | Mixing bowl | Large |
| 1 | Pastry cutter or fingers | For rubbing in |
| 1 | Rolling pin | Optional |
| 1 | Round cutter | 5 cm |
| 1 | Baking tray | Lined |
| 1 | Pastry brush | For milk glaze |
| 1 | Wire rack | Cooling |
How to Make Mary Berry Cheese Scones
This is where everything comes together. I always remind myself not to rush and not to overwork the dough.
Step 1
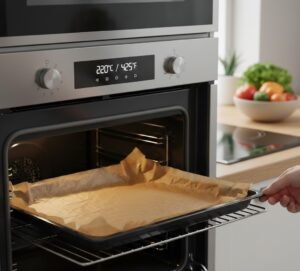
Preheat the oven to 220°C (425°F). Line a baking tray with parchment paper and set it aside.
Step 2
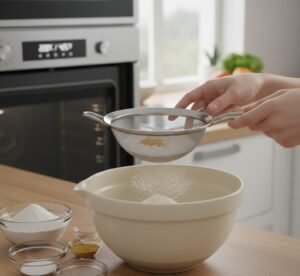
Sift the self-raising flour, baking powder, salt, and mustard or cayenne into a large bowl.
Step 3
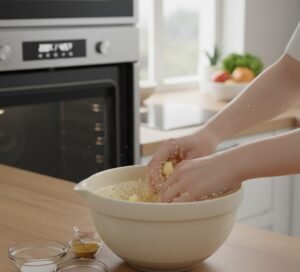
Add the cold diced butter and rub it into the flour using your fingertips until the mixture looks like fine breadcrumbs.
Step 4
Stir in most of the grated cheese, keeping a small handful for topping later.
Step 5
Whisk the egg and milk together. Add it gradually to the bowl, mixing gently until a soft, slightly sticky dough forms.
Step 6
Turn the dough out onto a lightly floured surface. Pat or roll it to about 2 cm thickness.
Step 7
Cut out rounds using a sharp cutter, pressing straight down without twisting.
Step 8
Place the scones on the tray, brush the tops with milk, sprinkle with the remaining cheese, and bake for 12–15 minutes until risen and golden.
Baking Tips
I’ve learned over time that the secret to good scones is restraint. Cold butter, a hot oven, and a gentle touch make all the difference.
If the dough feels too wet, I add a dusting of flour rather than kneading more.
Common Mistakes When Making
Overmixing is the biggest issue I see. It makes the scones dense instead of light.
Using warm butter or adding too much milk can also cause spreading rather than rising.
How to Get Light and Fluffy
I always make sure the oven is fully preheated before baking. I also handle the dough as little as possible and never twist the cutter. These small habits really do matter.
How Thick Should Cheese Scones Be?
About 2 cm is ideal. Thinner scones don’t rise well, and thicker ones can stay doughy inside. I gently pat the dough rather than rolling aggressively.
Can Kids Help
Absolutely. This is one of my favourite bakes for children. Rubbing in the butter, mixing the dough, and cutting out shapes are all fun, hands-on jobs that kids enjoy.
Variations of Mary Berry Cheese Scones
Sometimes I like to change things up depending on what I have in the fridge.
Cheese and Chive Scones
Add finely chopped fresh chives for a mild onion flavour.
Cheese and Bacon Scones
Stir in cooked, cooled bacon pieces for something extra indulgent.
Spicy Cheese Scones
A pinch of paprika or chilli flakes adds warmth.
Cheese and Onion Scones
Caramelised onions bring sweetness and depth.
Mini Mary Berry Cheese Scones
Perfect for parties or lunchboxes.
Serve With
I love these served warm with cold butter. They’re also lovely with soup, especially tomato or vegetable. A spoon of chutney on the side never hurts either.
How Long Do Mary Berry Cheese Scones Keep?
They’re best eaten the day they’re baked, but they’ll keep for up to two days in an airtight container.
How to Store
Once cooled, I store them at room temperature, well covered. Refrigeration can dry them out, so I avoid it unless necessary.
Can You Freeze
Yes, they freeze beautifully. I freeze them once baked and cooled, then reheat gently in the oven.
How to Reheat
A low oven works best. I reheat them at 180°C for a few minutes until warmed through. Microwaving is quick, but they do soften fast.
Nutrition Information (Approx)
- Calories: 200 kcal
- Protein: 6 g
- Carbohydrates: 22 g
- Fat: 10 g
- Saturated fat: 5 g
- Fibre: 1 g
- Sodium: Moderate
Healthier Version
Sometimes I swap part of the flour for wholemeal, or reduce the cheese slightly. Adding herbs gives flavour without extra salt, which I really like.
Mary Berry Cheese Scones for Afternoon Tea
These are perfect on an afternoon tea table. I usually serve them slightly warm with butter and maybe a mild chutney.
Soup and Lunch
Paired with soup, these scones turn a simple bowl into a proper meal. They’re filling without feeling heavy.
Mary Berry Cheese Scones Recipe
Ingredients
Equipment
Method
- I preheat my oven to 220°C (425°F) and line a baking tray with parchment paper so it’s ready to go.
- In a large bowl, I sift together the self-raising flour, baking powder, salt, and mustard or cayenne so everything is evenly mixed.
- I add the cold diced butter and rub it into the flour using my fingertips until the mixture looks like fine breadcrumbs.
- Most of the grated cheese goes in next. I mix it through lightly, saving a little for the tops later.

- In a jug, I whisk the egg with the milk, then gradually stir it into the dry ingredients until a soft, slightly sticky dough forms.

- I turn the dough out onto a lightly floured surface and gently pat it out to about 2 cm thick, being careful not to overwork it.

- Using a sharp cutter, I press straight down to cut out the scones and place them onto the prepared tray.

- I brush the tops with a little milk, sprinkle over the remaining cheese, and bake for 12–15 minutes until well risen and golden.

Notes
FAQs:-
Why are my Mary Berry cheese scones not fluffy?
This usually happens if the dough is overmixed or the butter isn’t cold. Handle the dough gently and use a hot, fully preheated oven for the best rise.
Can I make Mary Berry cheese scones without self-raising flour?
Yes, you can use plain flour. Just add baking powder and sift it well so the scones rise evenly.
What cheese works best for Mary Berry’s cheese scones?
Mature or sharp cheddar works best because it gives a stronger flavour. Mild cheese won’t taste as rich once baked.
Can Mary Berry cheese scones be frozen?
Yes, they freeze well once baked and cooled. Reheat them in the oven for a few minutes to refresh the texture.
Why did my cheese scones spread instead of rising?
The dough was likely too wet or warm. Use only enough milk to bring it together and avoid overhandling the dough.
Conclusion:-
I honestly think these cheese scones are one of the best savoury bakes you can make at home.
They’re simple, comforting, and endlessly adaptable. Every time I bake them, they remind me why classic recipes never go out of style, and why I keep coming back to them again and again.
Read More:- Pappardelle Noodles Recipe