Welcome, today I’m super excited because I finally get to share one of my absolute favorite restaurant-inspired dinners right from my own kitchen.
If you have ever tried the Lemon Garlic Chicken at LongHorn Steakhouse, you probably know exactly why this dish gets so much love.
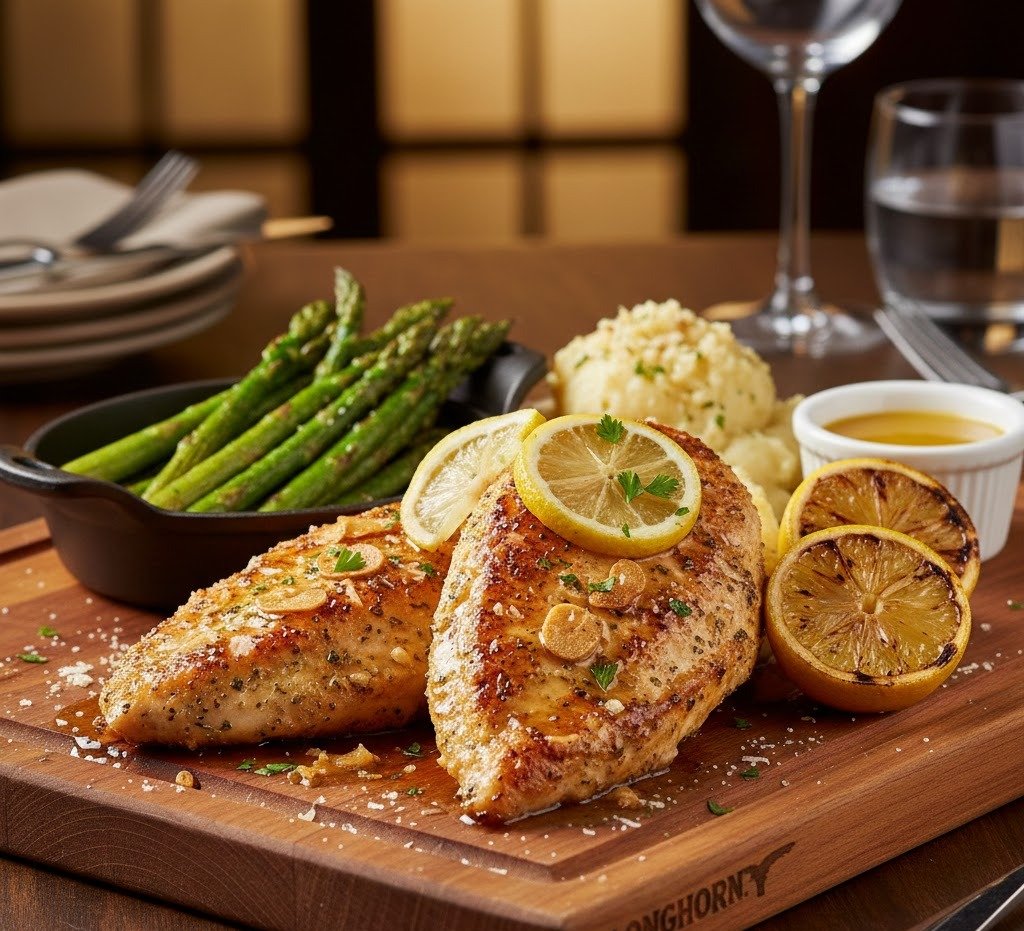
It’s creamy, lemony, garlicky, and honestly kind of irresistible. The first time I tasted it, I remember thinking, Wow, if I could make this at home, I’d probably eat it every week. So, of course, being me, that’s exactly what I set out to do.
This version is my upgraded and polished copycat, built from LongHorn’s flavors but also gently borrowing some technique brilliance from a few other amazing lemon-garlic chicken recipes.
I read, tested, tweaked, and taste-tested again until I achieved something that tasted just like the restaurant, but even better because the sauce became silkier, the chicken more juicy, and the lemon-garlic balance more rounded.
Before we dive in, here’s a quick snapshot of the recipe, as I know how helpful that can be.
Cuisine: American
Prep time: 10 minutes
Cook time: 20 minutes
Servings: 4
Now let’s get into the fun part.
What Makes This Lemon Garlic Chicken So Amazing
If you ever sat in LongHorn and took that first bite, the thing you notice immediately is the sauce.
It’s creamy but not heavy, lemony but not sharp, and garlicky in that warm restaurant way that only comes from mixing fresh garlic with a little garlic powder.
But here’s the truth I discovered while testing:
LongHorn’s version is already great, but with a couple of gentle tweaks, it becomes honestly spectacular.
So here’s what I changed or improved while still keeping the soul of the recipe:
• I incorporated a touch of shallot, like in recipe 2, because it melts into the sauce and gives a whisper of sweetness and depth.
• I added the flour trick to help bind and thicken the sauce naturally without needing too much simmer time.
• I borrowed the marinating-and-slicing technique from recipe 3, which makes the chicken juicier and keeps the cook time short.
• I kept LongHorn’s Parmesan, cream, and butter base, because that’s what makes this dish so rich and cozy.
• I let the chicken simmer in the sauce at the end, just like the original method, because it blends everything perfectly.
By mixing these techniques, the dish tastes restaurant-quality but more balanced and more “homemade luxury,” if that makes sense.
Ingredients Overview
Here’s everything I used in this combined recipe. It still stays simple but layered with more flavor thanks to the added shallot and light dusting of flour.
Ingredients Table
For the Chicken
| Ingredient | Amount | Notes |
|---|---|---|
| Boneless skinless chicken breasts | 2 large | Slice into thin cutlets |
| Garlic powder | 1 tsp | Adds depth with fresh garlic |
| Smoked paprika | 1 tsp | Adds color + gentle warmth |
| Salt | ¼ tsp | Seasoning base |
| Black pepper | ¼ tsp | Freshly ground preferred |
| Olive or avocado oil | 2 tbsp | For searing |
For the Lemon Garlic Sauce
| Ingredient | Amount | Notes |
|---|---|---|
| Butter | 3 tbsp | Rich flavor base |
| Shallot | 1 small, minced | Adds aroma + sweetness |
| Garlic | 4 cloves, minced | Fresh for best flavor |
| All-purpose flour | 1 tbsp | Helps thicken sauce |
| Chicken broth | ½ cup | Low sodium preferred |
| Fresh lemon juice | ¼ cup | About 2 lemons |
| Lemon zest | 1 tsp (optional) | Brighter lemon flavor |
| Heavy cream | ½ cup | Smooth creamy finish |
| Parmesan cheese | 2 tbsp | Melts into the sauce |
| Fresh parsley | For garnish | Optional but pretty |
Equipment I Use
• 1 cast iron skillet or heavy pan
• Tongs or spatula
• Sharp knife & board
• Measuring cups and spoons
• Paper towels
• Wooden spoon
• Lid for simmering
How to Make Lemon Garlic Chicken LongHorn Style
Here’s the full step-by-step. I’m sticking with your preferred style where every step starts fresh in its own paragraph.
Step 1: Prepare the Chicken
I start by slicing my chicken breasts horizontally into thinner pieces. This trick I borrowed from another recipe because it helps everything cook evenly and stay juicy.
After slicing, I pat them dry really well with paper towels — moisture is the enemy of a good sear.
I mix garlic powder, smoked paprika, salt, and pepper in a small bowl. Then I rub the seasoning all over the chicken until every piece is coated.
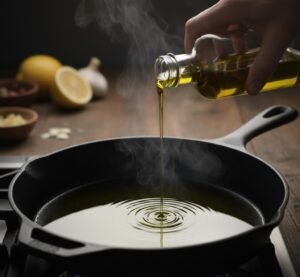
Step 2: Heat the Oil
Next, I heat my skillet over medium heat. I add the olive oil and let it warm until shimmering. If a drop of water sizzles, it’s ready.
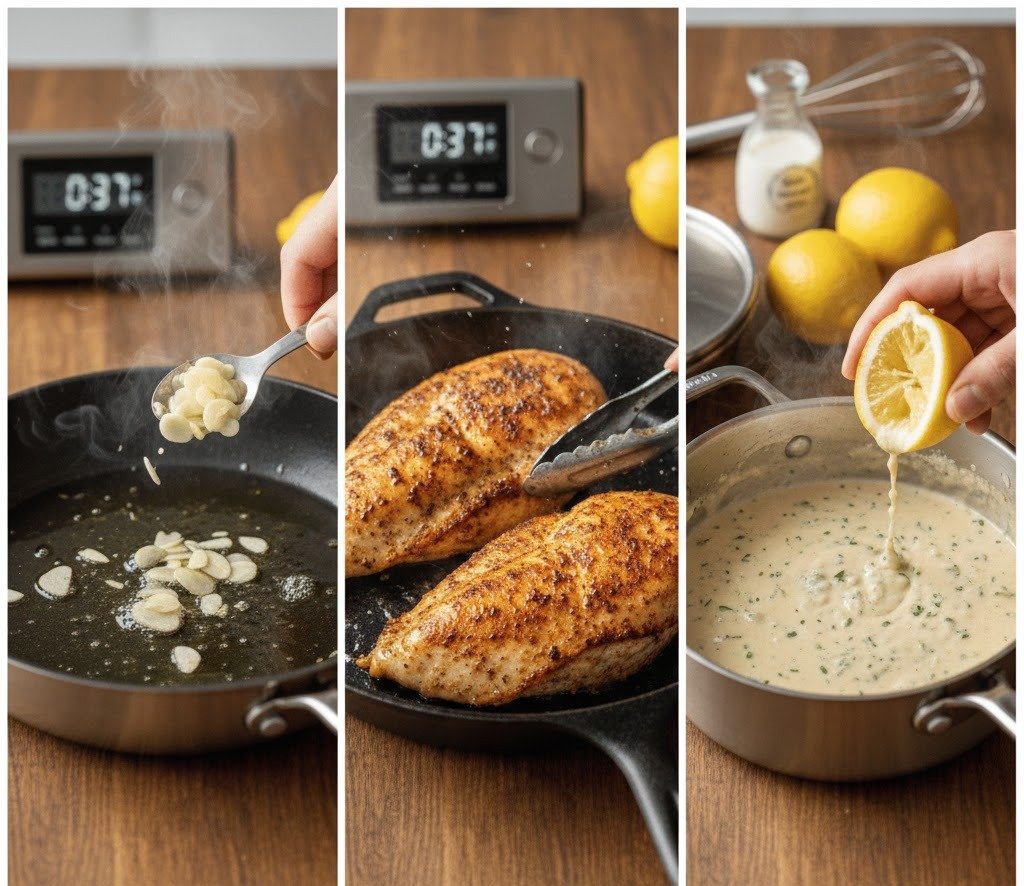
Step 3: Sear the Chicken
I place the chicken pieces in the pan, giving them space so they brown instead of steaming. They cook about 4–5 minutes on the first side, then I flip once and cook until golden brown and nearly cooked through.
I transfer the chicken to a plate and let it rest while I build the sauce.
Step 4: Start the Sauce
I reduce the heat a little, then melt the butter in the same skillet. I add the minced shallot and stir it for about a minute until it softens. Then comes the garlic. This part smells amazing, but I keep it moving because garlic burns fast.
Step 5: Add the Flour
Just like recipe 2 suggests, I sprinkle in the flour and stir it into the garlic and shallots. It becomes a quick roux that adds thickness and helps the sauce become velvety.
Step 6: Add Broth and Lemon
I pour in the chicken broth and fresh lemon juice, scraping the bottom of the pan to get up all those browned bits. The lemon does its bright magic here. I let this simmer a little so it starts to reduce.
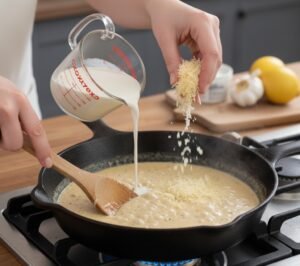
Step 7: Add Cream & Parmesan
I lower the heat to low and slowly add the heavy cream. If the heat is too high, the sauce can curdle, so low is important. When the cream is warm, I add the Parmesan and gently stir until it melts. The sauce quickly goes from thin to luxuriously silky.
Step 8: Return Chicken to the Pan
I slide the chicken back into the skillet and spoon sauce over each piece. With the lid on, I let everything simmer on low for 10 minutes. That final simmer lets the sauce settle into the chicken and also brings the chicken fully cooked to perfection.
Step 9: Serve
I spoon more sauce on top, sprinkle parsley, and sometimes even add thin lemon slices like one of the other recipes suggested. It looks so pretty and adds a nice light touch.
Lemon Garlic Chicken Longhorn Recipe
Ingredients
Equipment
Method
- Slice chicken into thin cutlets and pat dry. Season with garlic powder, smoked paprika, salt, and black pepper.

- Heat olive oil in a skillet over medium heat.
- Sear chicken 4–5 minutes per side until browned. Remove and set aside.

- Add butter and shallot. Cook 1 minute. Add minced garlic for 30 seconds.

- Stir in flour to form a light roux.

- Pour in chicken broth and lemon juice. Scrape bottom of pan and simmer.

- Reduce heat. Add cream and Parmesan. Stir until smooth.
- Return chicken. Spoon sauce over. Cover and simmer 10 minutes.

- Garnish with parsley and serve warm.

Notes
Tips for a Perfect LongHorn Lemon Garlic Chicken
Here are the little discoveries I made while blending the references:
• Don’t burn the garlic. 30–45 seconds is all you get.
• Sear first, simmer second. This creates restaurant-style browning.
• Use fresh lemon juice. Bottled lemon just tastes flat.
• Simmer low when adding cream. Prevents curdling every time.
• Let the sauce reduce uncovered if you want it even thicker.
How to Serve This Dish
I love serving this over:
• buttery mashed potatoes
• angel hair pasta
• herbed rice
• roasted asparagus or broccoli
Crusty bread is honestly a must because that sauce deserves love.
Make-Ahead + Storage
• Make-ahead: Cook chicken ahead, but make sauce fresh.
• Fridge: Keeps 3 days.
• Freezer: 2 months in an airtight container.
• Reheating: Stovetop low heat + splash of broth or cream.
FAQs:-
Can I use chicken thighs?
Yes, they work great. Just cook them a little longer.
How do I thicken the sauce?
Simmer uncovered for a few minutes or add a bit more Parmesan.
Is the lemon flavor strong?
It’s balanced, not overpowering. Use less juice if you prefer mild.
Can I make it dairy-free?
Yes, use coconut cream and skip the Parmesan.
Conclusion
I love how this upgraded LongHorn lemon garlic chicken turned out, because it keeps everything I adore about the restaurant version while adding small improvements that make it taste richer and kinda more cozy at home. Every bite is creamy and lemony with just the right garlic kick, and I hope you enjoy cooking it as much as I did making it.
Read More:- Stalekracker Jambalaya Recipe